Once you order the hosting service, you can start creating your own website. Using Softaculous automatic app installer you can install WordPress in a few clicks.
All of our web hosting plans are carefully tailored. On top of the standard features like free domain names and emails, 24/7 technical support, 99.9% uptime, etc., we add our own custom-made solutions to make your website faster, safer, and better supported than anywhere else.
Below you can find step-by-step guidelines covering the process:
1. Log into your cPanel.
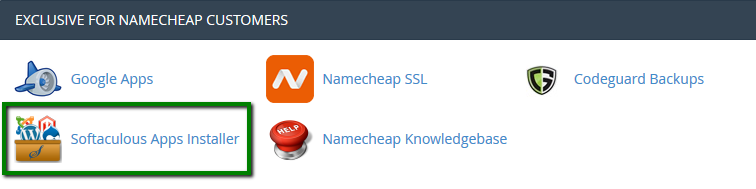
2. Navigate to Exclusive for Namecheap customers section > Softaculous Apps Installer menu:
You can now look for Softaculous icon in the control panel as shown in the screenshot below. Click on the Softaculous icon which will take you to the Softaculous enduser panel.
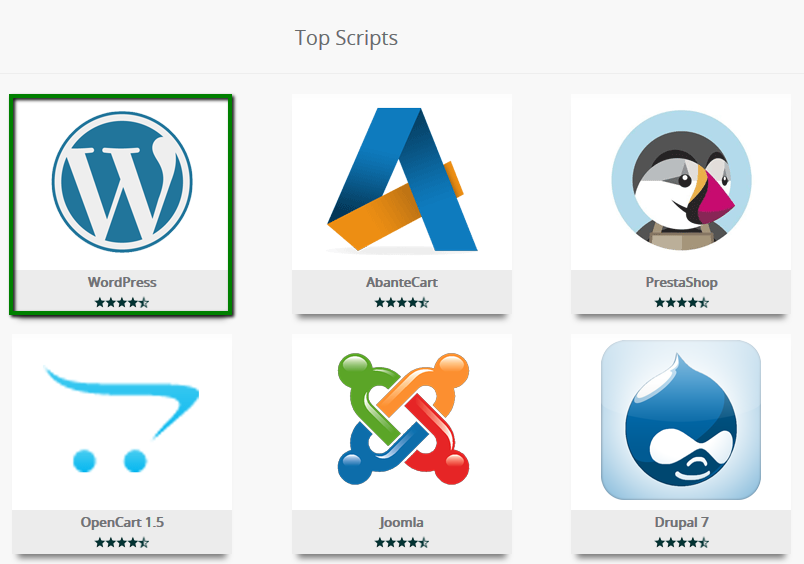
3. On the homepage, click on the WordPress icon:
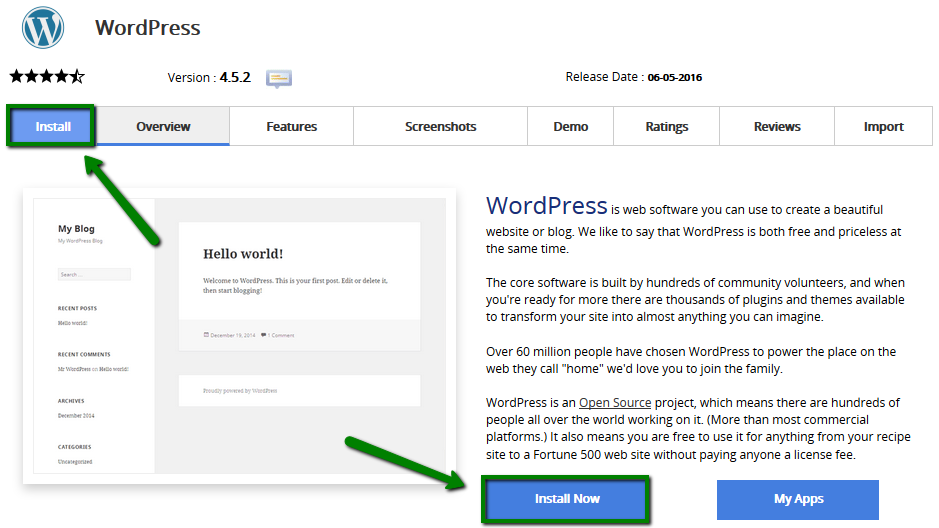
4. Switch to the Install tab to proceed:
5. On the next page you will need to fill out the details of your WordPress installation.
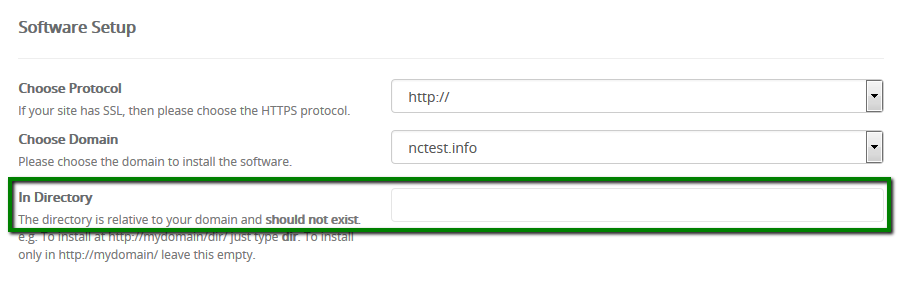
- Choose the domain you wish to install WordPress for
- In the In Directory field you can specify the root folder for WordPress installation. By default, this field is empty, and it allows installing WordPress on yourdomain.com directly. If you wish to install it to a subfolder, like yourdomain.com/blog, simply type “blog” in this field.
- Database Name can be left default.
- Table Prefix can also be left default wp_; however, due to security reasons it is better to change it, e.g., to ncwpsite_ .
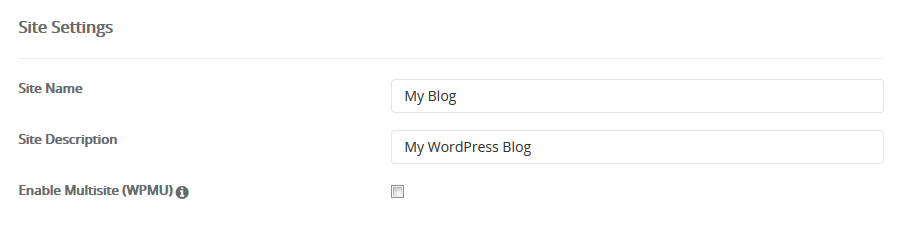
- The Site Settings section should be filled out accordingly to your needs, though you can change it anytime later if required.
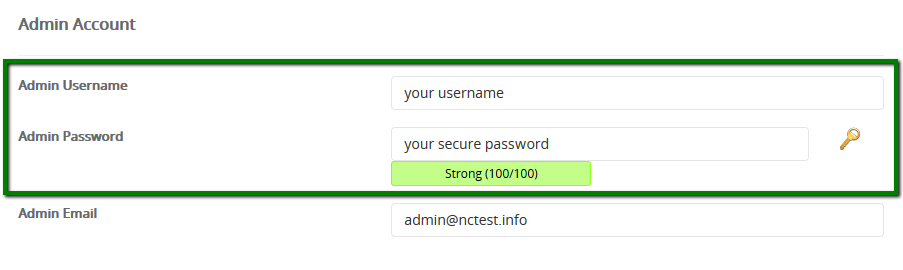
Make sure you set up secure and hard-to guess details in the Admin Account section:
Fill the install form
After clicking on the Install button, you need to fill in the form displayed as shown in the screenshot below. The form asks lots of details (which are prefilled by default), you can change it if you need or leave it as it is and proceed with the installation with default values.
Choose Installation URL : Choose the domain and the folder where you want to install WordPress.
Note : If you want to install WordPress in document root i.e. example.com and NOT in a sub directory i.e. example.com/wp then leave the In Directory field as blank.
Admin Username : Choose the username to be used for WordPress admin account
Admin Password : Choose the password to be used for WordPress admin account
6. When ready, scroll down and hit Install.
In a few moments you will see the message that WordPress has been successfully installed:
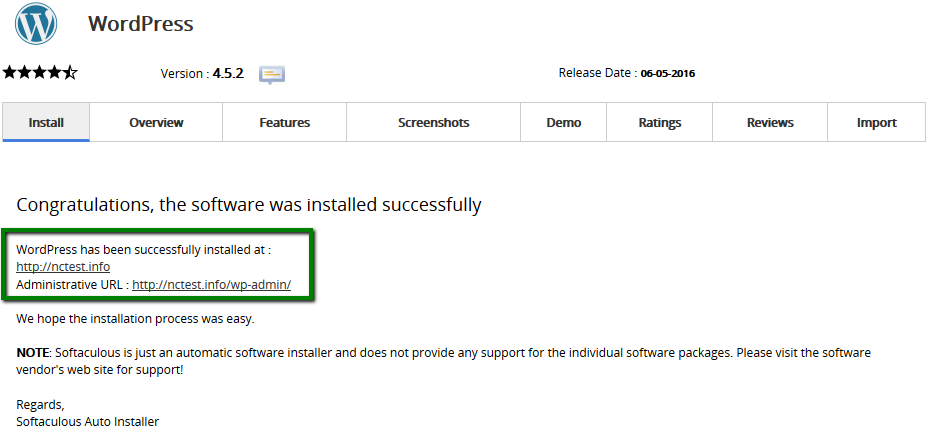
You can now go ahead and log into your WordPress Dashboard to start working on your website.
You can then access the WordPress admin panel and/or WordPress site.
We hope the installation process was easy.
You can not only install WordPress using Softaculous but you can also manage the complete life cycle of your WordPress installation which includes upgrading, backup, restore, clone, staging and much more.
That’s it!