cPanel actually offers two different types of Zone Editor – Simple DNS Zone Editor and Advanced DNS Zone Editor. Let’s talk about the first option.
Option 1. Simple DNS Zone Editor
Once you open the tool, you’ll get the option to perform four different actions using the simple interface.
A Record
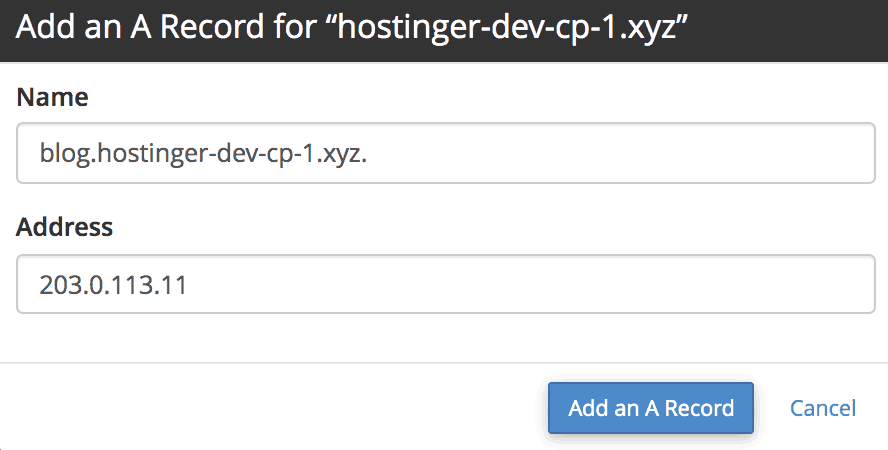
The first action allows you to add an A Record on your domain name. You can use this to map a domain’s IP address from a hosting service. Additionally, you can also use it to provide domain redundancy, by adding multiple A Records for the same domain.
To add one, simply click the button and fill all the required fields. In Name, you can enter the hostname for the record. In Address, you can enter the IPv4 address that you would like to point to. When finished, click Add an A Record.
CNAME Record
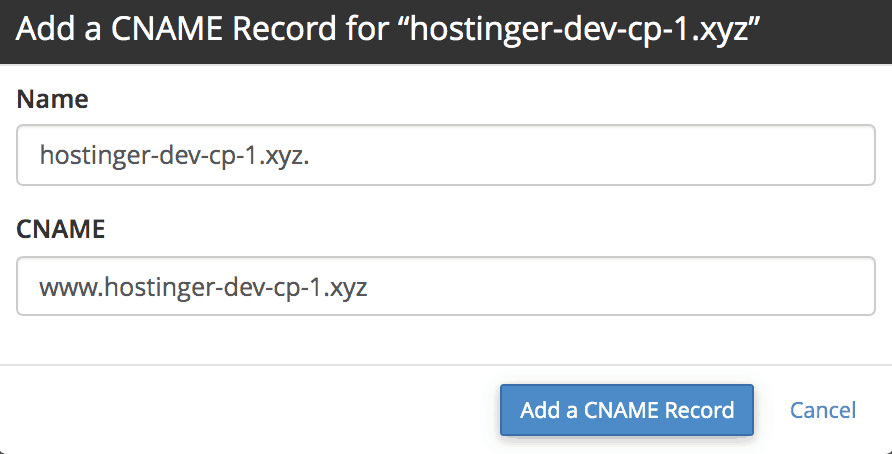
A Canonical Name, or simply CNAME, can be used to map an alias name to a true domain name. You can use this to map a subdomain, such as www or mail, to its content from the main domain name. If you use Google Suite, you would also take a closer look of your CNAME Records.
Click CNAME Record. In the Name, enter the hostname for the record. And in CNAME, enter the subdomain name that you want to map.
MX Record
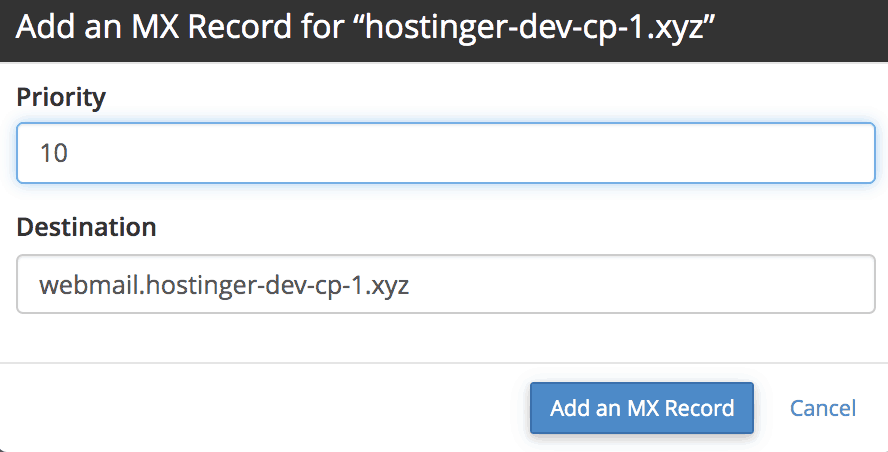
Mail servers will use the Mail Exchange (MX) Record to determine the location of email delivery. You should provide the same value for MX Record and A Record, as they usually work hand in hand.
To add one, click the MX Record button. For Priority, the higher the value means preferable. As for Destination, you can use the same value for the appropriate A Record.
Manage
If you want to access the Advanced DNS Zone Editor, select it in the panel. It also contains a list of all different DNS records in your domain.
Option 2. Advanced DNS Zone Editor
With the advanced editor, you can edit and set custom a TTL value for each of your records. This is pretty handy, especially if you want to edit a record from an inactive domain. Besides editing three previous settings, you can also create other types of records including:
- AAAA Record — maps a domain name to IPv6 Address
- Certification Authority Authorization (CAA) Record — allows a certain authority to issue certificates for the domain
- Domain-based Message Authentication, Reporting, and Conformance (DMARC) Record — enhances security against fraudulent attempts or suspicious emails. Google Suite users might find this tutorial helpful
- SRV Record — maps one domain to another, as we did in the previous tutorial
- TXT Record — uses to hold any type of text information. For example, it commonly uses to hold DMARC content
Now you’ve learned how to use the Zone Editor, and you can now easily add, edit, or remove any records in your domain.
In the next cPanel tutorial, we’ll show you how to set up an SRV record in cPanel.
How to Add SRV Record
SRV records allow you to define the location of specific services to a different location. It’s commonly used for connecting websites and services that are hosted separately. Several services that usually use this are IMAP/POP3/SMTP, Minecraft servers, Teamspeak 3, etc.
SRV Record Details
There are several details in the SRV record that you need to input according to the service, protocol, and host that you use:
- Name — the domain name used by the service. It should end with a dot, e.g., _minecraft._tcp.yourdomain.com. (Note: Only use underscores before service and protocol)
- TTL (Time to Live) — limits the lifetime of a specific record. The default value is 14400
- Priority — defines which records should be prioritized. Lower value is better
- Weight — determines which records have the same preference should be prioritized first. A higher value means preferable
- Port — the port number used by the service
- Target — the destination hostname where the SRV record will be pointed to, e.g., minecraft.server.com
In this tutorial for cPanel, we’ll use Minecraft as an example. You can get the value details directly from the service provider — they will generate the SRV record details for you. Now, let’s add them.
Step 1. Find the DNS Zone Editor
When you log in, find the DNS Zone tool. It is available under the Domains section.
Step 2. Add an SRV Record
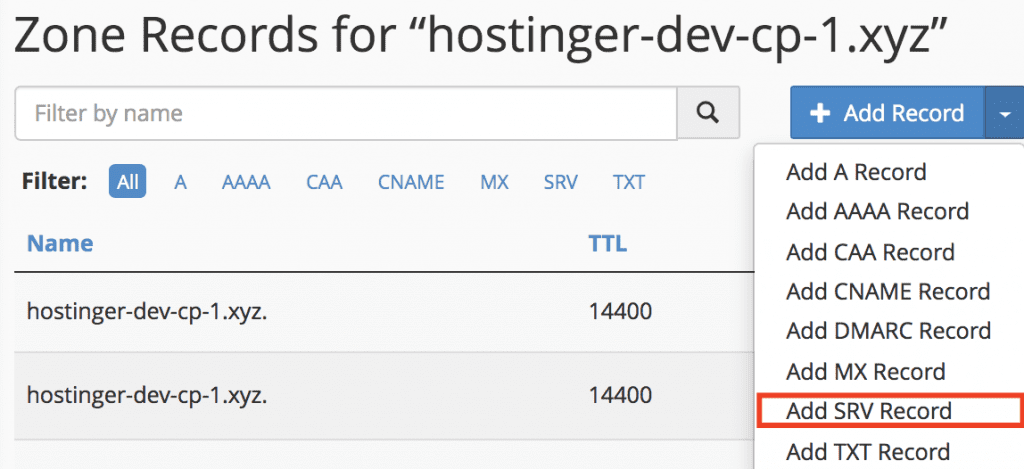
- Choose the domain you want to add the SRV record to, and click Manage. Right beside the filter search bar, click the dropdown at the Add Record button, and choose Add SRV Record.

- A new form will appear underneath, fill in all the required details. Once finished, click Add Record.

Once you’re done, the newly created record should appear in the Zone Record list. It usually takes less than 15 minutes for the SRV Record to take effect, but sometimes it might take up to 24 hours.
Should your SRV Record not start within 24 hours, you need to contact your hosting provider, to make sure that the details are in the correct format and the port number isn’t blocked.


